メニューに常駐してくれるデスクトップアプリを作りたいと思ったので参考になりそうなリンクだとかをここにメモしておく。flutterで開発する。
作りたいアプリの機能
作業時間をすぐに計測できるようなアプリを作りたい。 タイマー機能とストップウォッチ機能を持っていて、それを作業項目ごとに計測して可視化できるようなアプリ。 さらにRaycastなどのランチャーアプリからサクッと開始できたら嬉しい。-> flutterアプリとは別にgoなどでCLIアプリを作る?
検討してる中で見つけたがgo-flutterていうものがあるらしい。どうやらDesktopアプリをflutterで作るベースとして go-flutterと普通のFlutter on Desktop の二つが候補ぽい。。?とりあえず今回は無視。
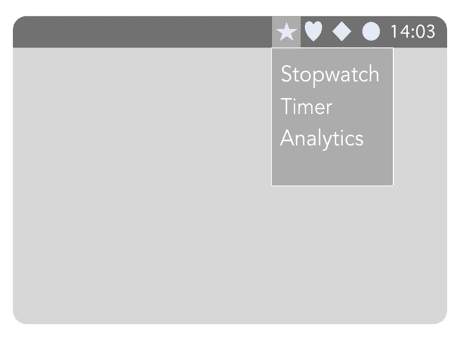
イメージ
雰囲気こんな感じのやつ。

使用場面
「よし!プログラム作業を1時間やるぞ!」 -> サッと1時間タイマーをかけれる。1時間経ったら通知。 「よし!作業時間は決めてないけどモデリングの作業やるぞ!」 -> ストップウォッチをサッと開始できる。できればPCを一定時間触らなかったら自動で停止したい。
作業のマイルストーン(仮)
1.Flutterでの開発方法調査
bitsdojo_window
ウィンドウを操作するためのパッケージにbitsdojo_windowを使う。 以下のことができるとのこと。
- Custom window frame - remove standard Windows/macOS/Linux titlebar and buttons
- Hide window on startup
- Show/hide window
- Move window using Flutter widget
- Minimize/Maximize/Restore/Close window
- Set window size, minimum size and maximum size
- Set window position
- Set window alignment on screen (center/topLeft/topRight/bottomLeft/bottomRight)
- Set window titleこっちもあるっぽいが、flutter-desktop-embedding/plugins/window_size/ ひとまずbitsdojo_windowを使う。
flutter pub add bitsdojo_windowmacos/runner/MainFlutterWindow.swiftの中身を修正する必要があるらしい。
import Cocoa
import FlutterMacOS
import bitsdojo_window_macos

class MainFlutterWindow: BitsdojoWindow {

  override func bitsdojo_window_configure() -> UInt {
    return BDW_CUSTOM_FRAME | BDW_HIDE_ON_STARTUP
  }

  override func awakeFromNib() {
    let flutterViewController = FlutterViewController.init()
    let windowFrame = self.frame
    self.contentViewController = flutterViewController
    self.setFrame(windowFrame, display: true)

    RegisterGeneratedPlugins(registry: flutterViewController)

    super.awakeFromNib()
  }
}
この設定をした後で、
void main() {
  WidgetsFlutterBinding.ensureInitialized();
  runApp(const ProviderScope(child: MyApp()));

  doWhenWindowReady(() {
    const initialSize = Size(600, 450);
    appWindow.minSize = initialSize;
    appWindow.size = initialSize;
    appWindow.alignment = Alignment.center;
    appWindow.show();
  });
}
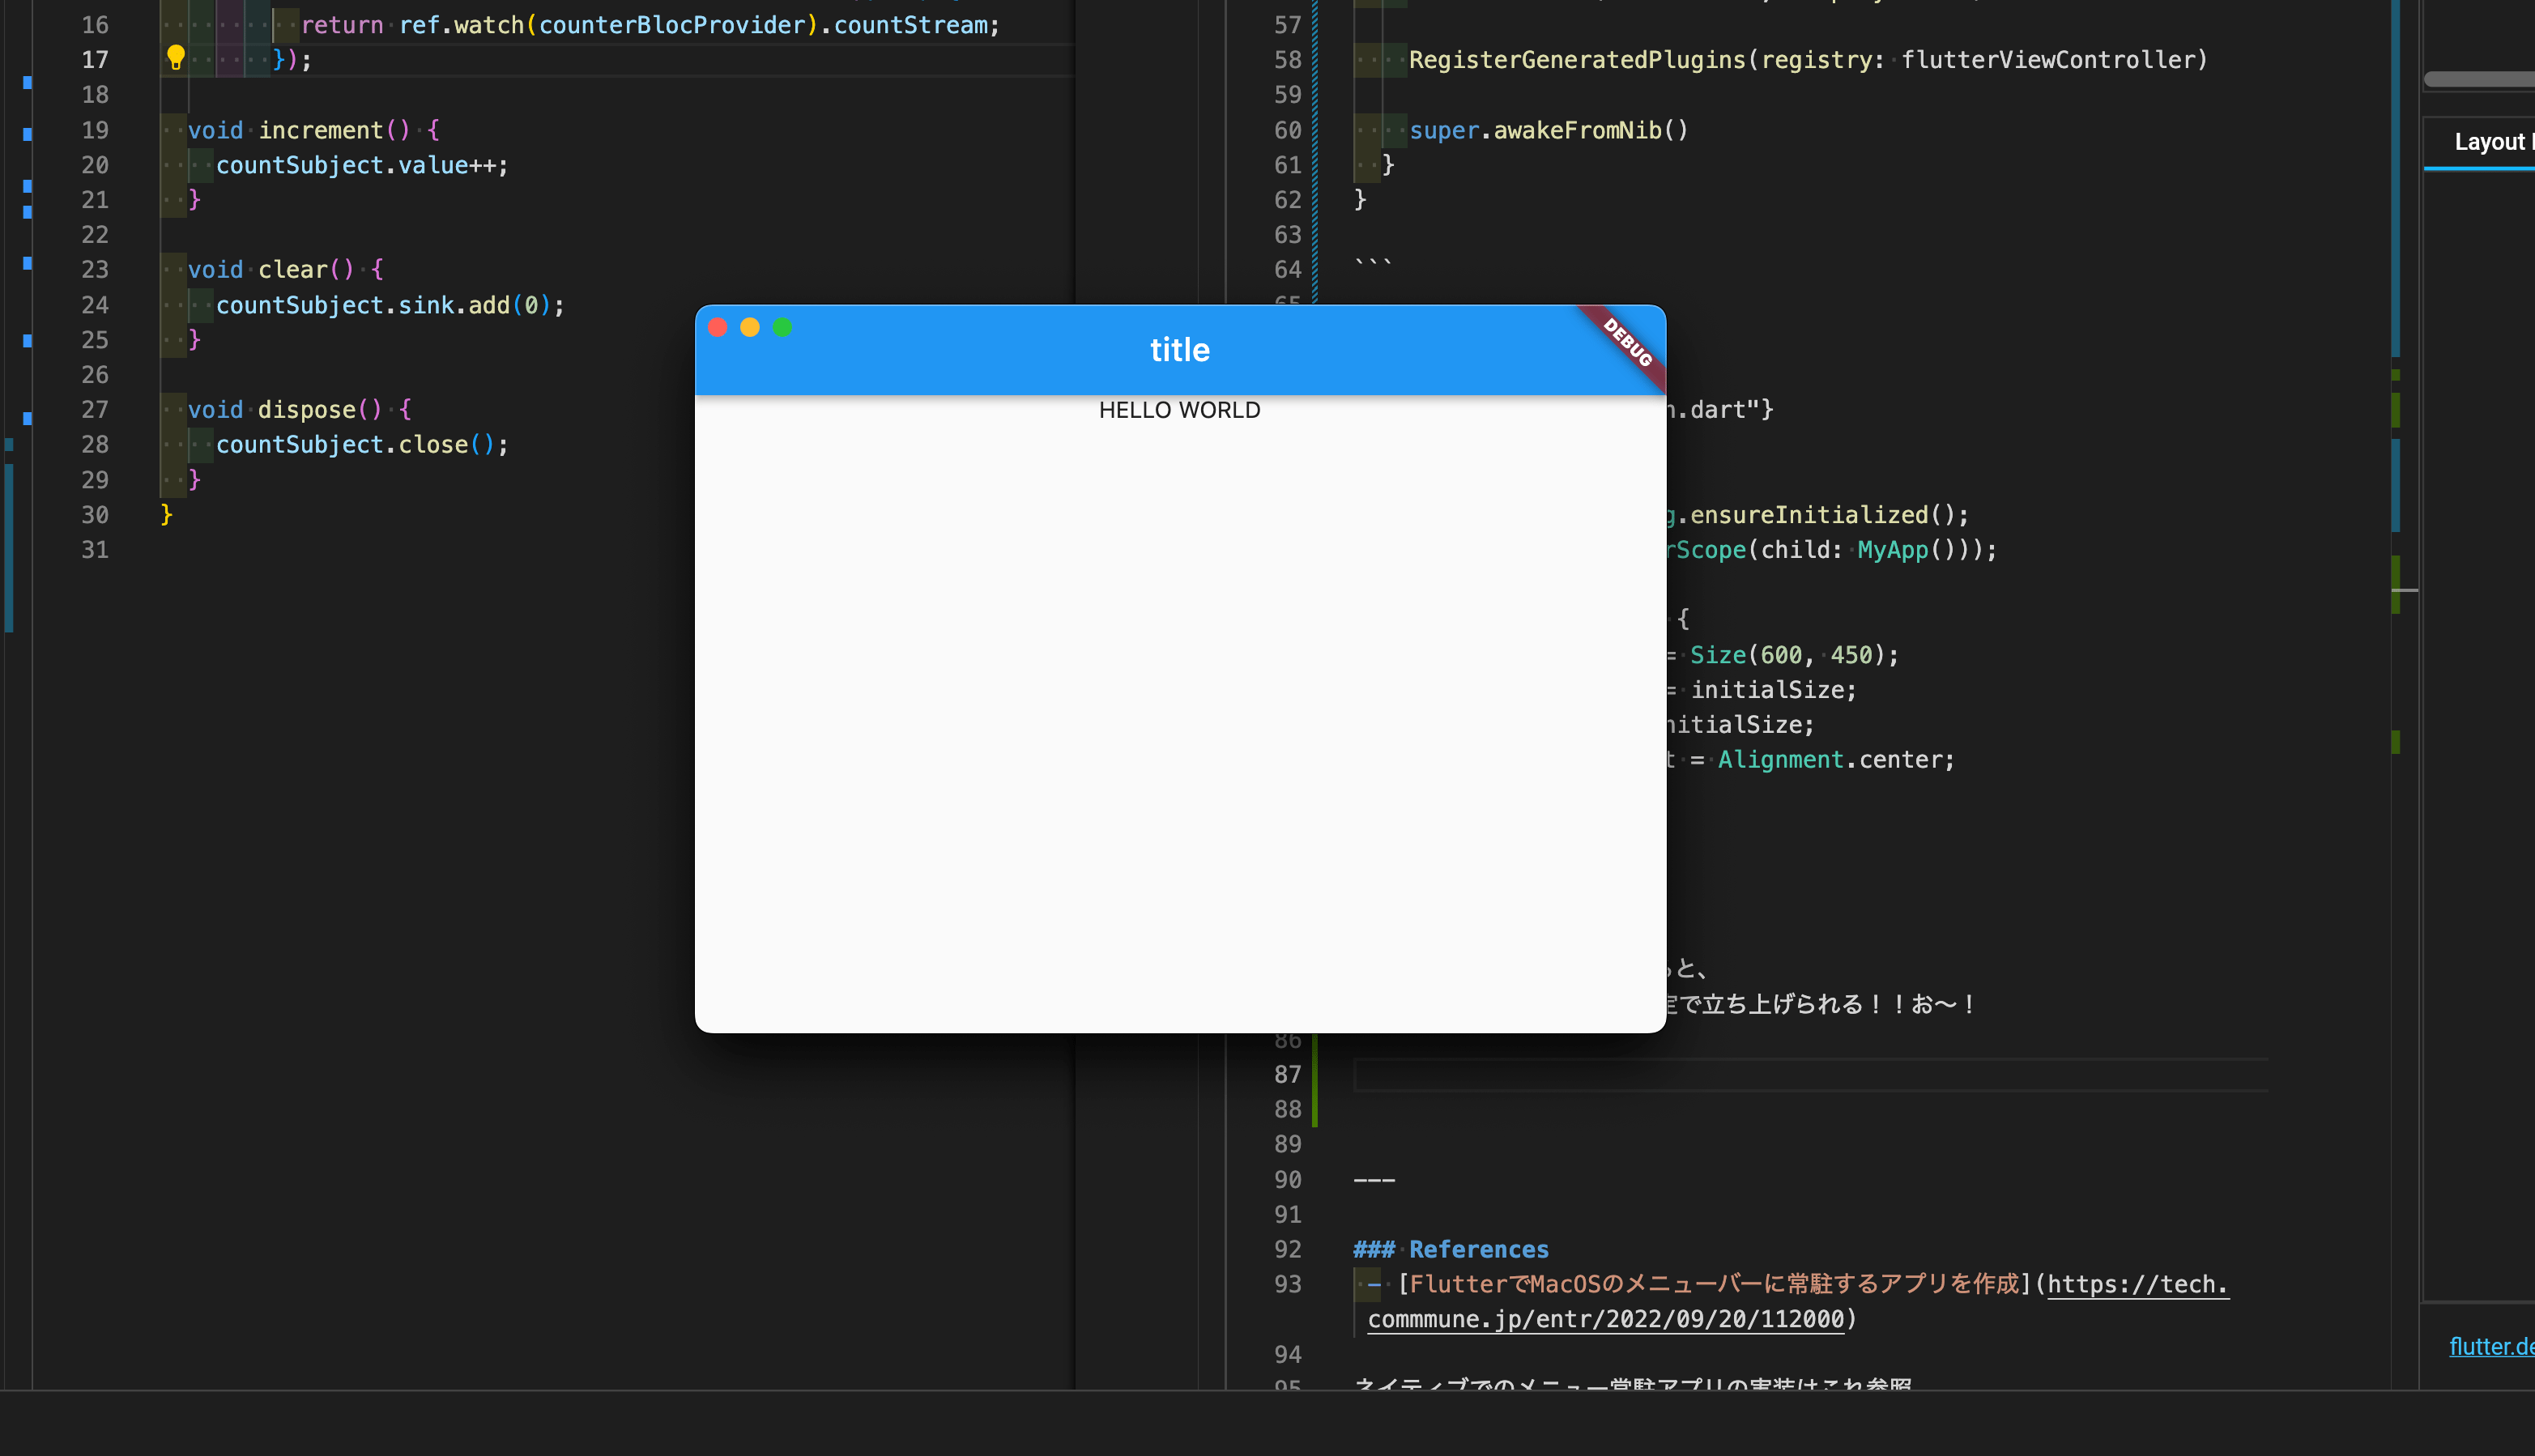
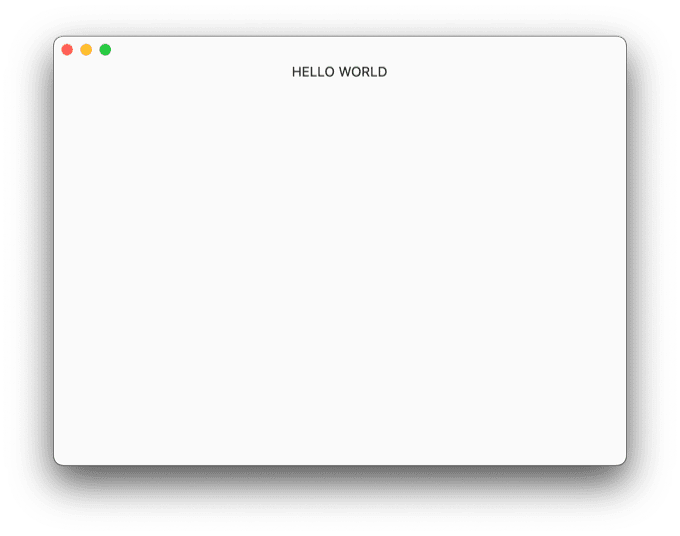
でrunしてアプリを立ち上げると、 アプリがセンターでサイズ指定で立ち上げられる。お〜。

ちなみに、マルチウィンドウについてDesktop Multi-Window Supportはこういう状況ぽい。
ただこのままだとアプリケーションウィンドウが動かせない状態である。 ウィンドウのタイトルバーの設定などが必要。
class MyHome extends StatelessWidget {
const MyHome({super.key});
Widget build(BuildContext context) {
return Scaffold(
body: WindowBorder(
color: const Color(0x00aaaaaa),
width: 1,
child: Column(
children: [
const TitleBar(),
CounterHome(),
],
)));
}
}main.dartなどからMyHomeを読み込みTitleBarを設定する。
const backgroundStartColor = Color(0x00000000);
const backgroundEndColor = Color(0x00000000);
class TitleBar extends StatelessWidget {
const TitleBar({Key? key}) : super(key: key);
Widget build(BuildContext context) {
return WindowTitleBarBox(
child: Container(
decoration: const BoxDecoration(
gradient: LinearGradient(
begin: Alignment.topCenter,
end: Alignment.bottomCenter,
colors: [backgroundStartColor, backgroundEndColor],
stops: [0.0, 1.0]),
),
child: Row(
children: [
Expanded(
child: MoveWindow(),
),
const WindowButtons()
],
),
),
);
}
}WindowButtonsの中身はこちらを参照。
ただ、macOSの場合はデフォルトで設定されているからなくても動作する?ぽい。
また、WindowBorderについてもmacOSの場合は設定しなくても動くし、設定は反映されないように思える。
system_tray
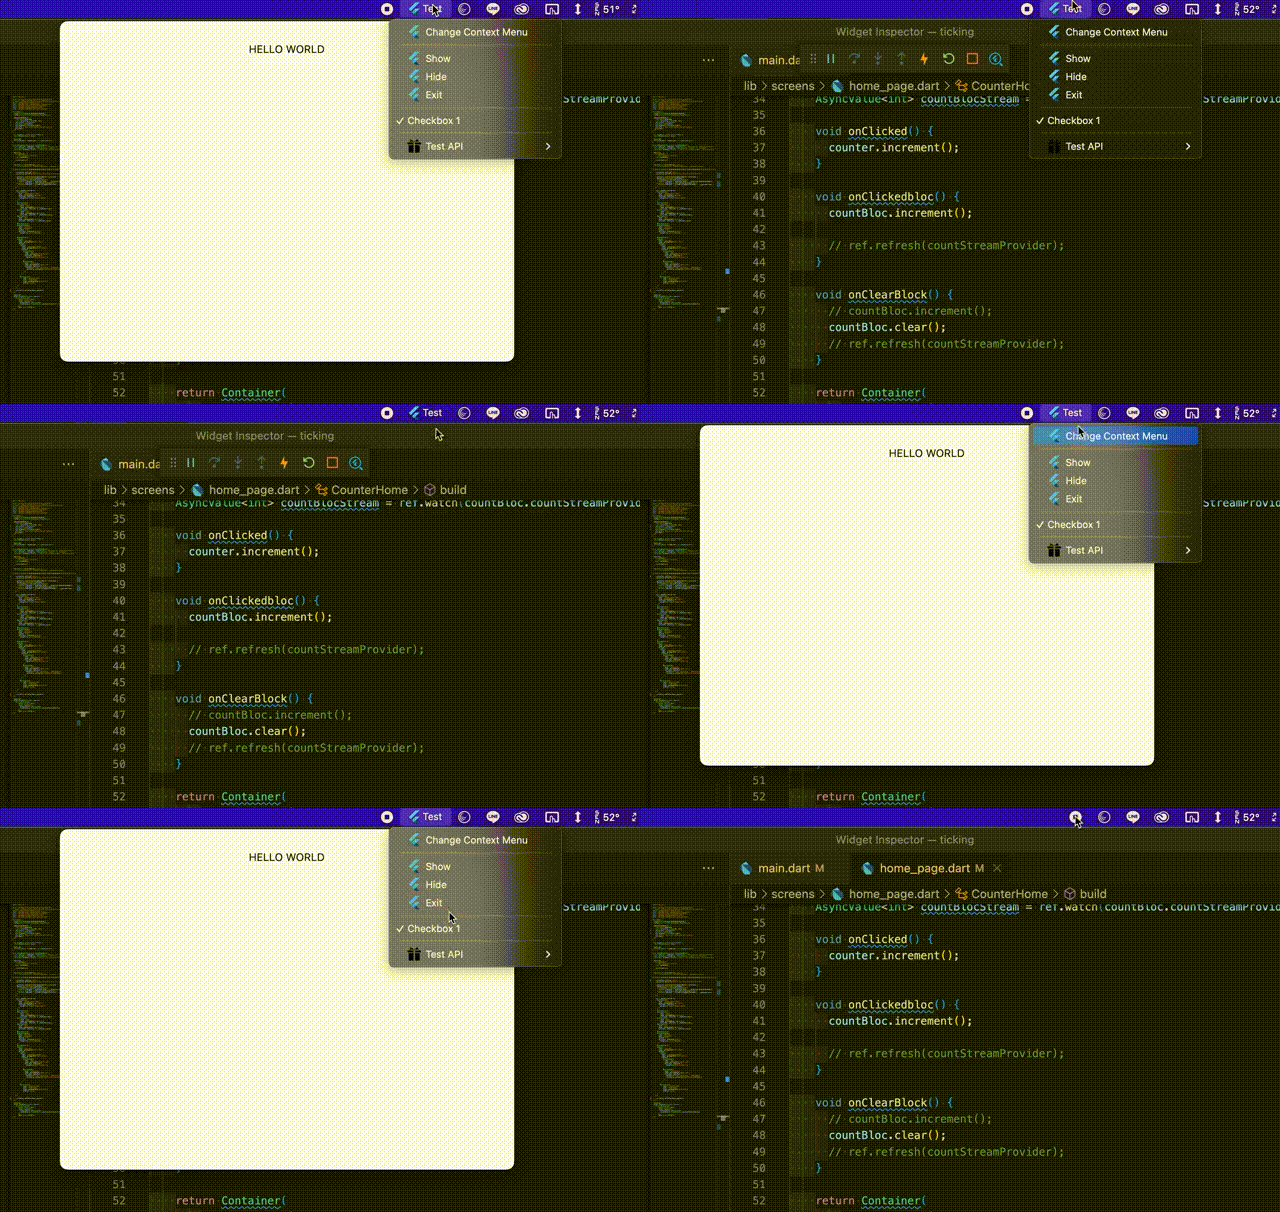
メニュー常駐アプリを作りたいのでそのためにsystem_trayパッケージを使う。 Exampleに大体書いてある。
長いけど全部載せると
class MyAppBase extends StatefulWidget {
const MyAppBase({super.key});
State<MyAppBase> createState() => _MyAppBaseState();
}
class _MyAppBaseState extends State<MyAppBase> {
final AppWindow _appWindow = AppWindow(); // アプリケーションウィンドウのState
final SystemTray _systemTray = SystemTray(); // システムトレイのState
final Menu _menuMain = Menu(); // システムトレイをクリックした際のメニューState
void initState() {
// TODO: implement initState
super.initState();
initSystemTray();
}
Future<void> initSystemTray() async {
// final mainMenuList = MenuMain(appWindow: _appWindow).menuList;
await _systemTray.initSystemTray(iconPath: getTrayImagePath('app_icon'));
_systemTray.setTitle("Test");
_systemTray.setToolTip("How to use system tray with Flutter");
_systemTray.registerSystemTrayEventHandler((eventName) {
debugPrint("eventName: $eventName");
if (eventName == kSystemTrayEventClick) {
Platform.isWindows ? _appWindow.show() : _systemTray.popUpContextMenu();
} else if (eventName == kSystemTrayEventRightClick) {
Platform.isWindows ? _systemTray.popUpContextMenu() : _appWindow.show();
}
});
await _menuMain.buildFrom([
MenuItemLabel(
label: 'Change Context Menu',
image: getImagePath('app_icon'),
onClicked: (menuItem) {
debugPrint("Change Context Menu");
},
),
MenuSeparator(),
MenuItemLabel(
label: 'Show',
image: getImagePath('app_icon'),
onClicked: (menuItem) => _appWindow.show()),
MenuItemLabel(
label: 'Hide',
image: getImagePath('app_icon'),
onClicked: (menuItem) => _appWindow.hide()),
MenuItemLabel(
label: 'Exit',
image: getImagePath('app_icon'),
onClicked: (menuItem) => _appWindow.close(),
),
MenuSeparator(),
MenuItemCheckbox(
label: 'Checkbox 1',
name: 'checkbox1',
checked: true,
onClicked: (menuItem) async {
debugPrint("click 'Checkbox 1'");
},
),
MenuSeparator(),
SubMenu(
label: "Test API",
image: getImagePath('gift_icon'),
children: [
SubMenu(
label: "setSystemTrayInfo",
image: getImagePath('darts_icon'),
children: [
MenuItemLabel(
label: 'Test',
image: getImagePath('darts_icon'),
onClicked: (menuItem) {
debugPrint("TEST clicked!!");
},
),
MenuItemLabel(
label: 'setToolTip',
image: getImagePath('darts_icon'),
onClicked: (menuItem) {
debugPrint("click 'setToolTip' : TOOLTIP@@");
_systemTray.setToolTip("TOOLTOP SET UPDATE@@");
},
),
],
),
MenuItemLabel(
label: 'disabled Item',
name: 'disableItem',
image: getImagePath('gift_icon'),
enabled: false),
],
),
]);
_systemTray.setContextMenu(_menuMain);
}
Widget build(BuildContext context) {
return MaterialApp(
title: 'Flutter Demo',
theme: ThemeData(
primarySwatch: Colors.blue,
visualDensity: VisualDensity.adaptivePlatformDensity,
),
home: const MyHome());
}
}
String getTrayImagePath(String imageName) {
return Platform.isWindows ? 'assets/$imageName.ico' : 'assets/$imageName.png';
}
String getImagePath(String imageName) {
return Platform.isWindows ? 'assets/$imageName.bmp' : 'assets/$imageName.png';
}サブメニューやツールチップやチェックなどに対応している。

ひとまず今日はここまで。
