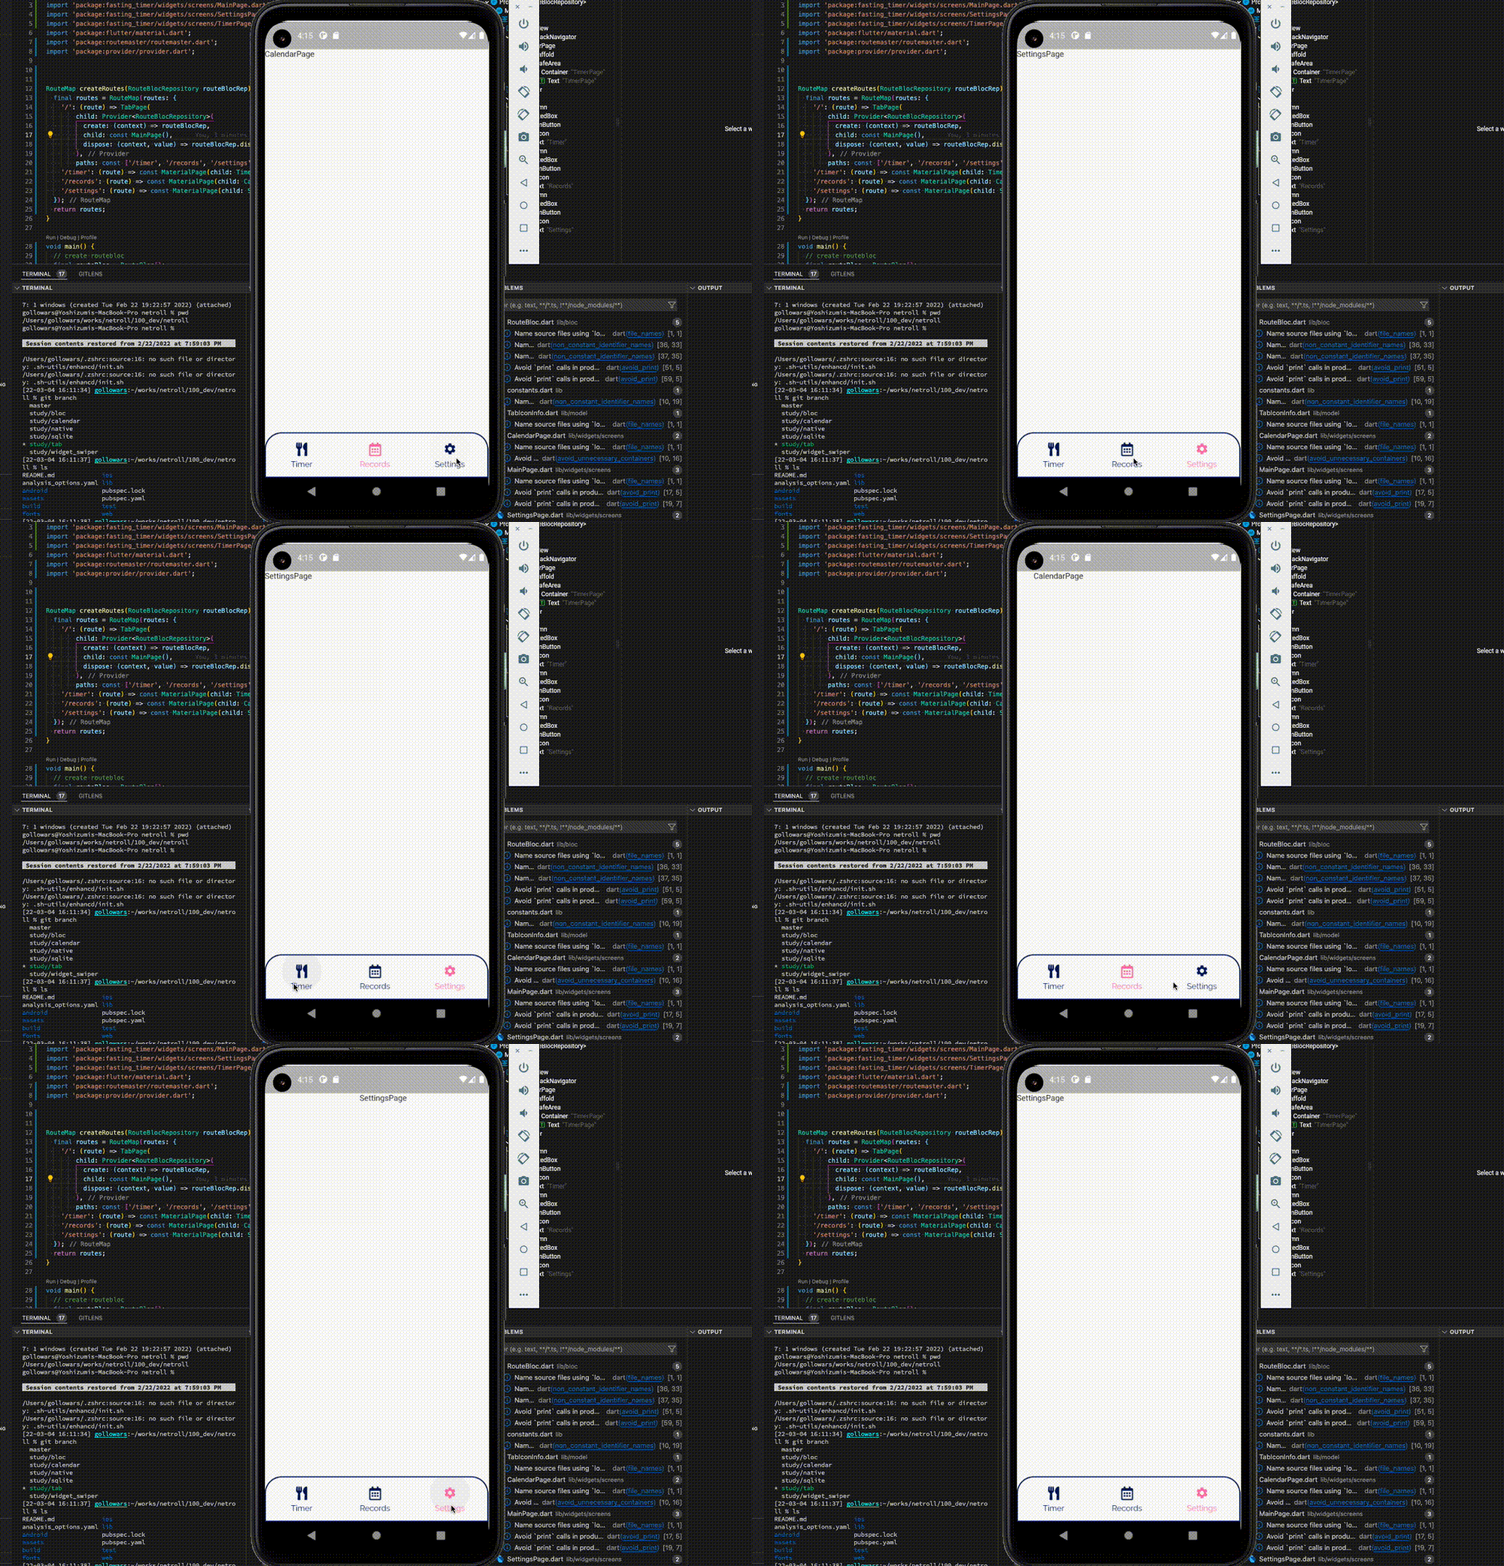
FlutterのNavigation2.0は宣言的で良さそうなのだが、使うのがちょっとややこしそう。 とりあえずroutemasterで簡単に雰囲気を試して困ったら深掘りしようという加減な思想でシンプルなタブナビゲーションを実装。

ドキュメント通りの実装。
lib/main.dart
void main() {
  final routes = RouteMap(routes: {
    '/': (route) => TabPage(
        child: const MainPage(),
        paths: const ['/timer', '/records', '/settings']),
    '/timer': (route) => const MaterialPage(child: TimerPage()),
    '/records': (route) => const MaterialPage(child: CalendarPage()),
    '/settings': (route) => const MaterialPage(child: SettingsPage())
  });

  runApp(
    MaterialApp.router(
      routerDelegate: RoutemasterDelegate(
        routesBuilder: (_) => routes,
      ),
      routeInformationParser: const RoutemasterParser(),
    ),
  );
}
CupertinoTabsを使わず、bottomNavigationBarでシンプルに実装する。
lib/widtet/screens/MainPage.dart
class MainPage extends StatelessWidget {
const MainPage({Key? key}) : super(key: key);
Widget build(BuildContext context) {
final tabPage = TabPage.of(context);
final routemaster = Routemaster.of(context);
print('current Page path : ${routemaster.currentRoute.path}');
return Scaffold(
body: TabBarView(
controller: tabPage.controller,
children: [
for (final stack in tabPage.stacks) PageStackNavigator(stack: stack),
],
),
bottomNavigationBar: Container(
height: 80,
decoration: BoxDecoration(
borderRadius: const BorderRadius.only(
topRight: Radius.circular(30),
topLeft: Radius.circular(30),
),
border: Border(
top: BorderSide(
color: headlineColor,
width: 2,
),
bottom: BorderSide(
color: headlineColor,
width: 2,
),
right: BorderSide(
color: headlineColor,
width: 2,
),
left: BorderSide(
color: headlineColor,
width: 2,
),
),
),
child: Row(
mainAxisAlignment: MainAxisAlignment.spaceAround,
children: [
IconButton(
icon: Icon(FontAwesomeIcons.utensils),
onPressed: () => routemaster.push('/timer')
),
IconButton(
icon: Icon(FontAwesomeIcons.calendarAlt),
onPressed: () => routemaster.push('/records')
),
IconButton(
icon: Icon(Icons.settings),
onPressed: () => routemaster.push('/settings')
),
],
),
),
);
}
}カレントページでアイコンの色を変えたりする最終的なコードはこちら routemasterのdidChangeRouteをstreamにして流したりしているので、routemaster + BLoCしたい人の参考になると思うが、タブ切り替え時にTabPageのchildに指定するwidgetは再構成されていたので普通にcurrentpathなどは受け取れる。なので実際に利用価値はない。